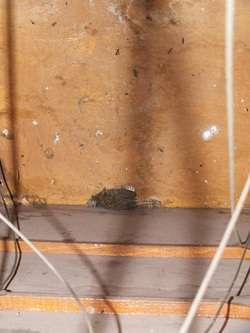
Having spent the last couple of weeks cleaning all the accessible parts of the airframe, I decided I should try and get some detailed images of the inside of the fuselage to check on its condition. I'd already used the camera on the phone to take some rough images and noticed what seemed to be a dark mark on the bulkhead behind the cockpit and under the rear shelf.
Using a decent camera revealed it wasn't a mark at all, but rather one very dead bird! A coat hangar duck-taped into some plastic pipe and much fishing about then took place to try and remove it!
It's also clear I'll have to try and clean inside the fuselage, which might mean removing some of the ply covering.
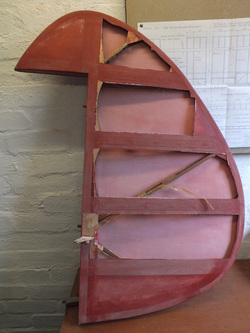
I'd known since buying the project that I'd need to re-cover the rudder and tailplane as the covering system used was unknown. But the quality of the finish meant I found it difficult to bring myself to remove it! However, there wasn't any point in putting off the inevitable and I wanted to get a check the internal fitting for corrosion, so off it came.
Thankfully there's no horrors hidden inside, so other than adding a second bracket to allow me to have tailwheel steering, I hope to get it covered again soon.
Thankfully there's no horrors hidden inside, so other than adding a second bracket to allow me to have tailwheel steering, I hope to get it covered again soon.
 RSS Feed
